- August 2, 2022
- 3DParts4U
- 0
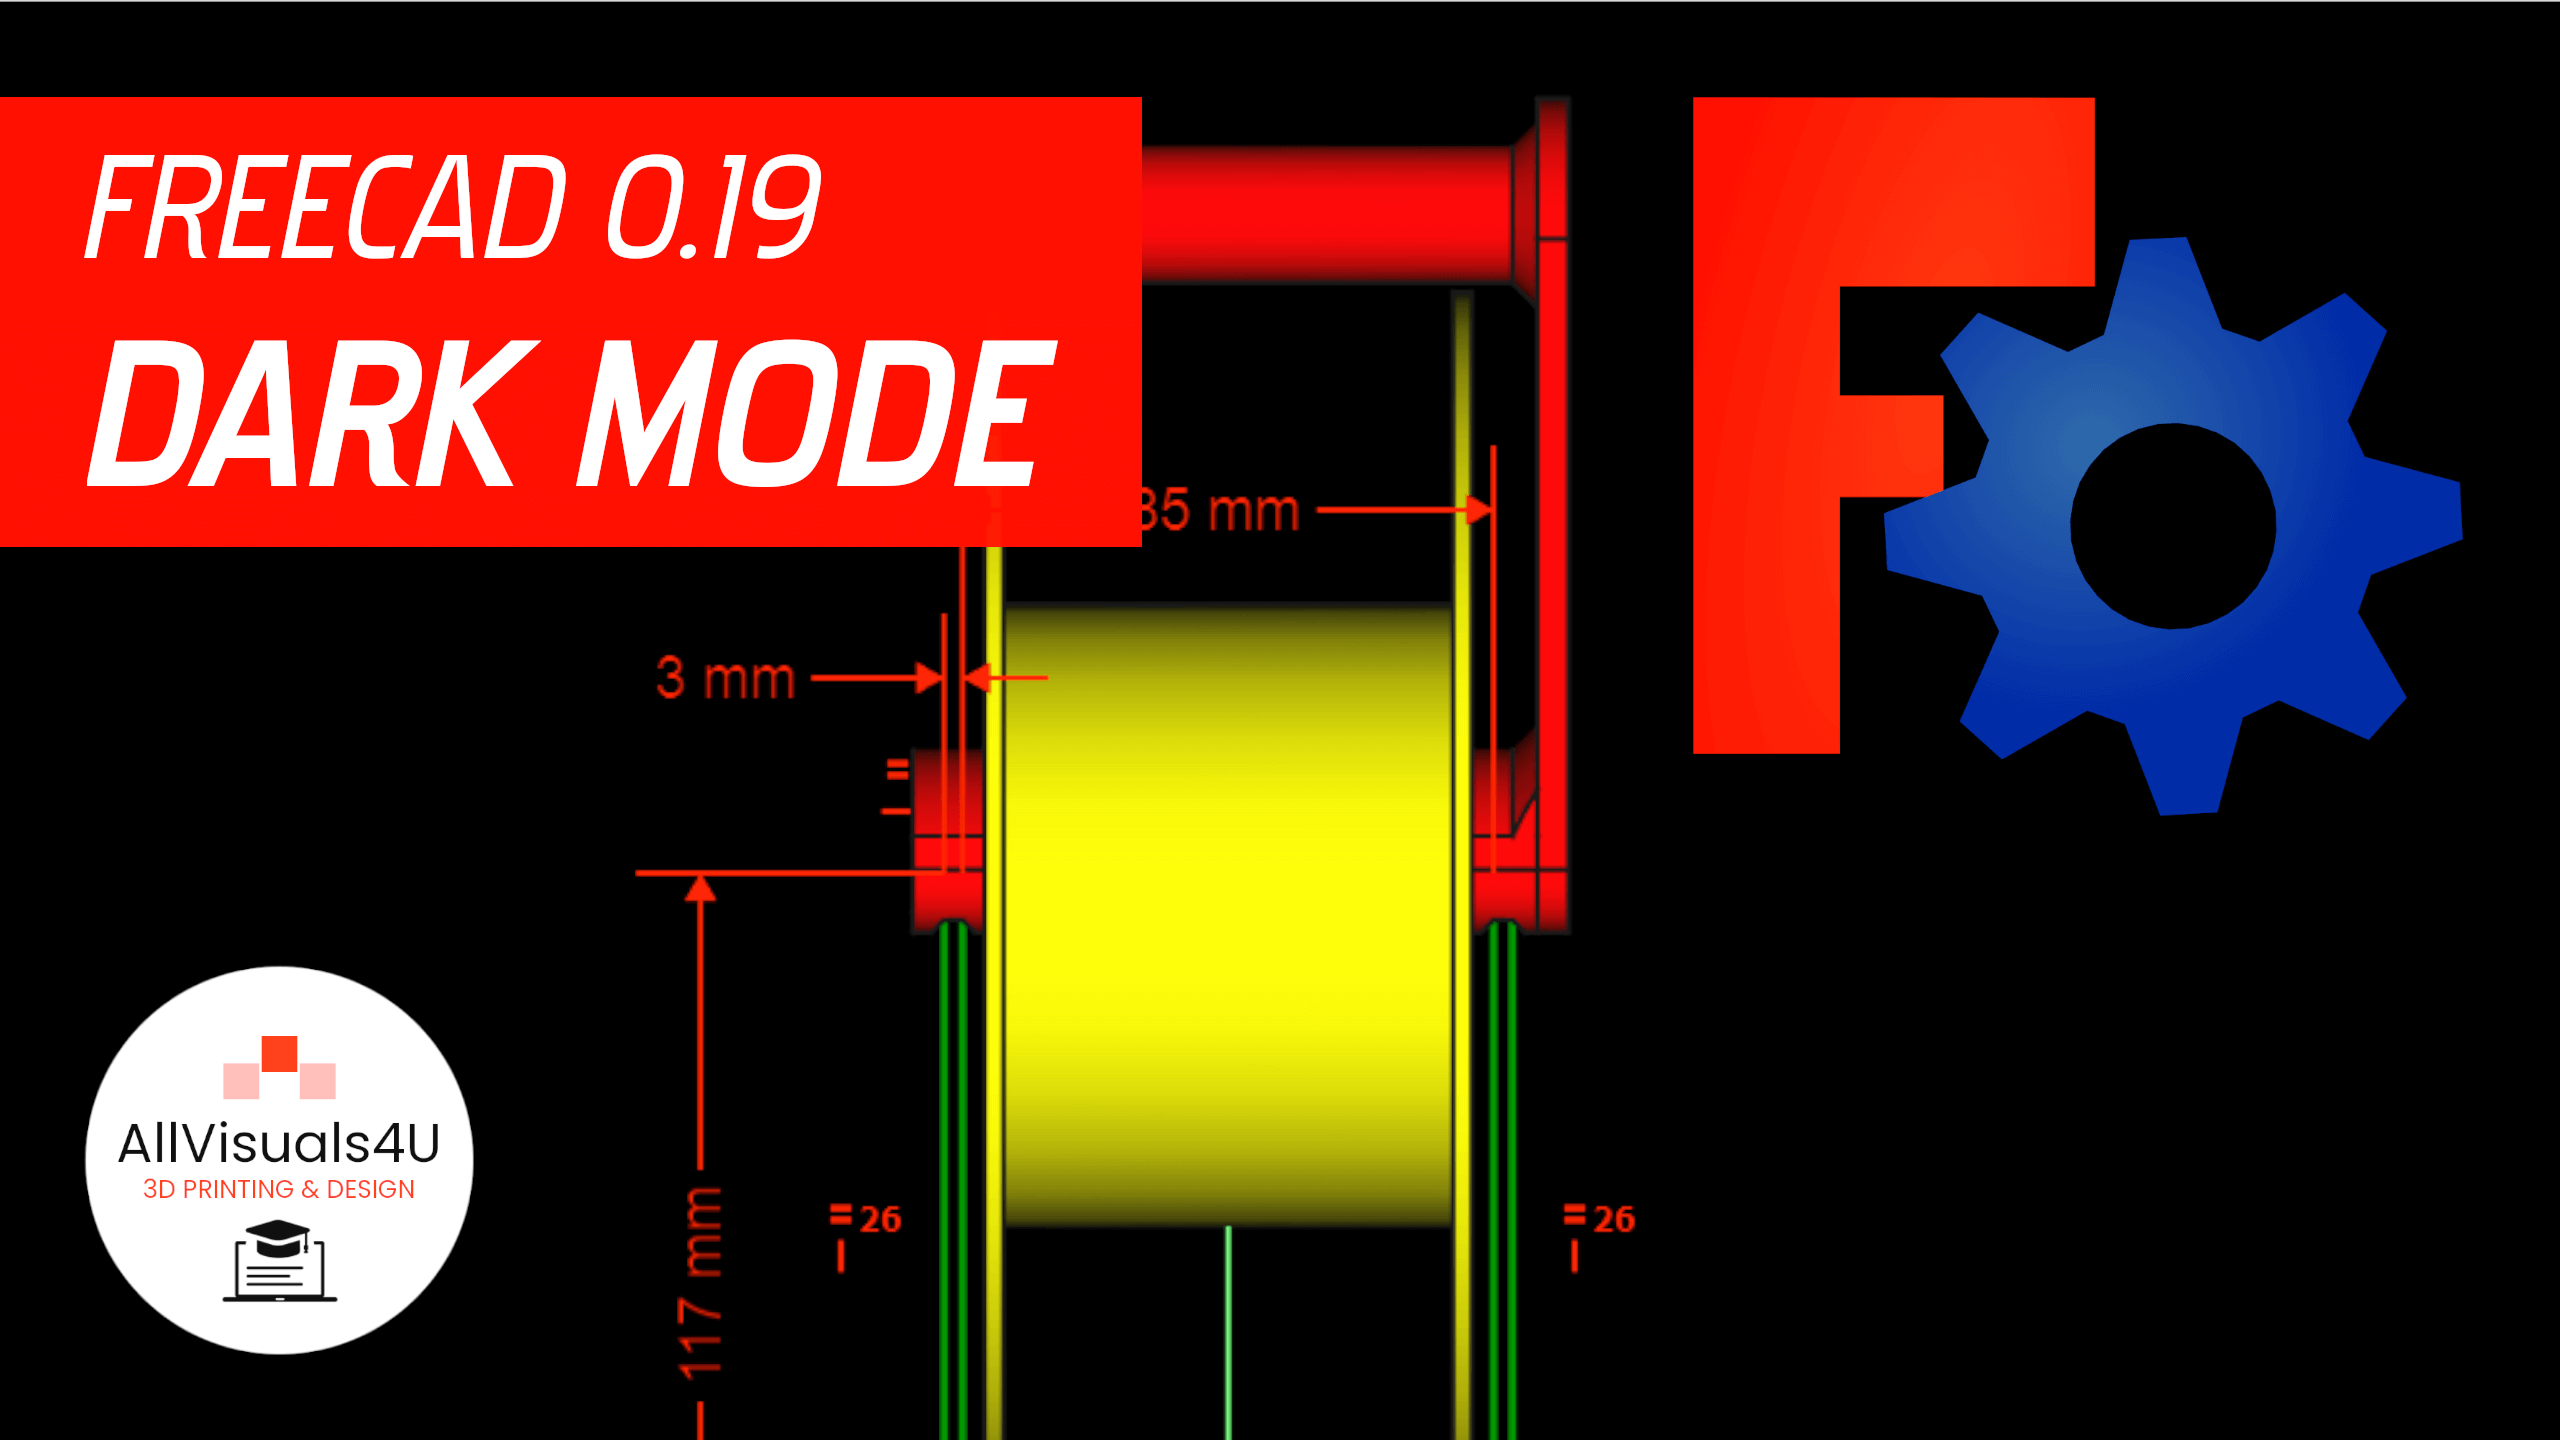
Here’s how to apply a dark theme to FreeCAD! You can change it easily by changing the preferences. Then you can enjoy a dark version that gives a calmer picture to your eyes.
When you are in FreeCAD, click on ‘Edit’ and then select ‘Preferences’. Then go to the ‘General’ tab and select ‘ProDark’ as the style sheet. You have more dark options, but this is my favorite. Then in the ‘Sketcher’ tab, select ‘Colors’. Change all black colors to white for the right contrast. Finally change the background color to black. You can do that by selecting ‘Colors’ in the ‘Display’ tab.
A dark mode will give you a calmer picture when using FreeCAD. It’s also better when you’re using it on a TV screen, because there’s a bigger chance you prevent burning in. Check out my videos on the AllVisuals4U channel to learn more about FreeCAD! I’ve been uploading a lot of tutorials there.
If you like a visualisation of the steps described above, just click on the video below to see how to configure this dark mode in FreeCAD!
A video where i show my dark mode settings in FreeCAD
So a dark mode will give you a calmer picture when using FreeCAD. It’s also better when you’re using it on a TV screen, because there’s a bigger chance you prevent burning in. Want to see more? Check out my other videos on the AllVisuals4U channel to learn more about FreeCAD. I’ve been uploading a lot of tutorials there. Thank you!
