- April 21, 2024
- 3DParts4U
- 0
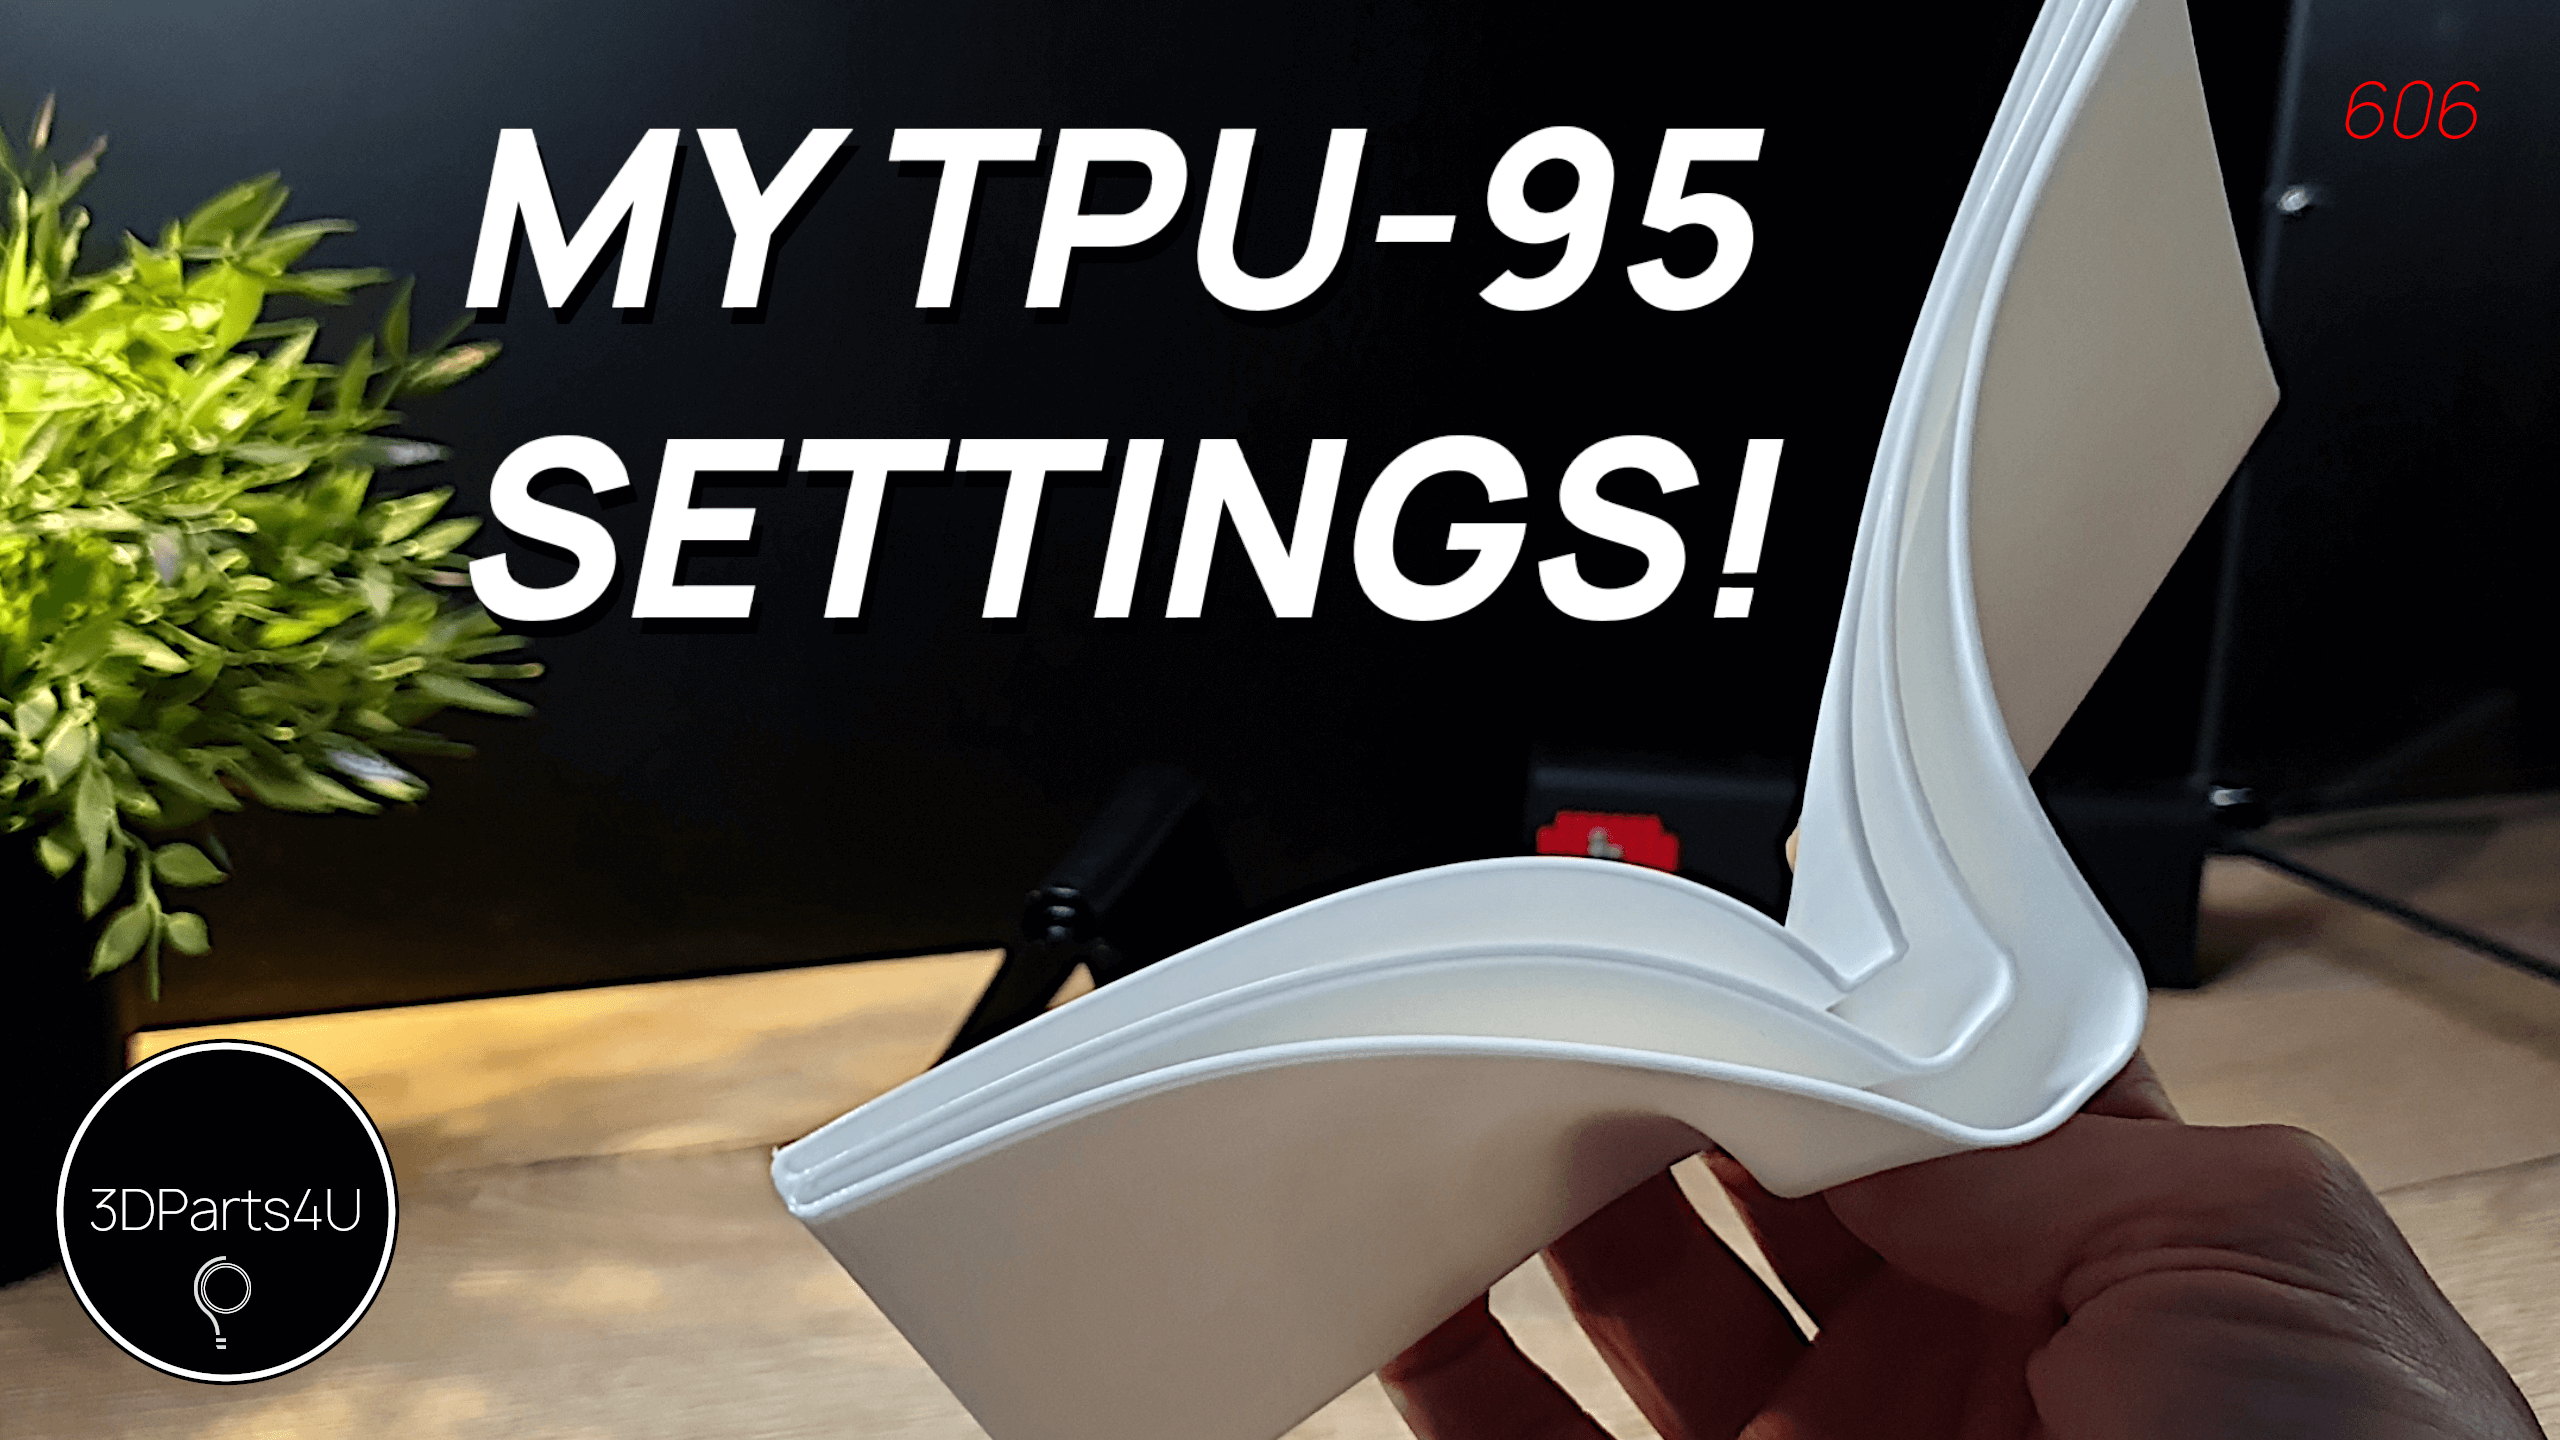
By designing and 3D printing this wallet, i found my best settings to print TPU-95 filament! After tweaking, these settings serve as a good foundation for my future flexible 3D prints.
In the realm of 3D printing, enthusiasts and professionals alike are constantly seeking materials that offer both durability and flexibility to bring their creations to life. Among the plethora of options available, Thermoplastic Polyurethane (TPU) filament has emerged as a game-changer, revolutionizing the way we approach 3D printing projects.
TPU is a type of elastomer that combines the advantages of plastic and rubber, making it exceptionally flexible, durable, and resistant to abrasion. Its unique properties make it an ideal choice for a wide range of applications, including prototyping, functional parts, prosthetics, and even fashion accessories.
Only the first six layers were printed at a lower speed than the rest on top. This to get a solid start with good adhesion to the print bed.
The video below shows which print settings i used to print a wallet. I show two 3D printed wallets together with these settings. In a nutshell: only the first six layers were printed at a lower speed than the rest on top. This to get a solid start with good adhesion to the print bed. After these layers, everything was printed at a higher speed with a little more filament flow to speed up the process.
How to 3D print TPU filament?
My absolute favorite flexible filament for my current printer is TPU-95 from PolyMaker. If you are interested in this flexible filament, you can buy PolyMaker PolyFlex™ on eBay. Do you want to know more? Then check out my YouTube channel about 3D printing. By clicking the button below, you can subscribe directly. Thank you!
